Sherlogic Mystery
A storied logic puzzle. Read closely—every detail may matter.
Case File · Read Carefully
The Missing Castle Keys
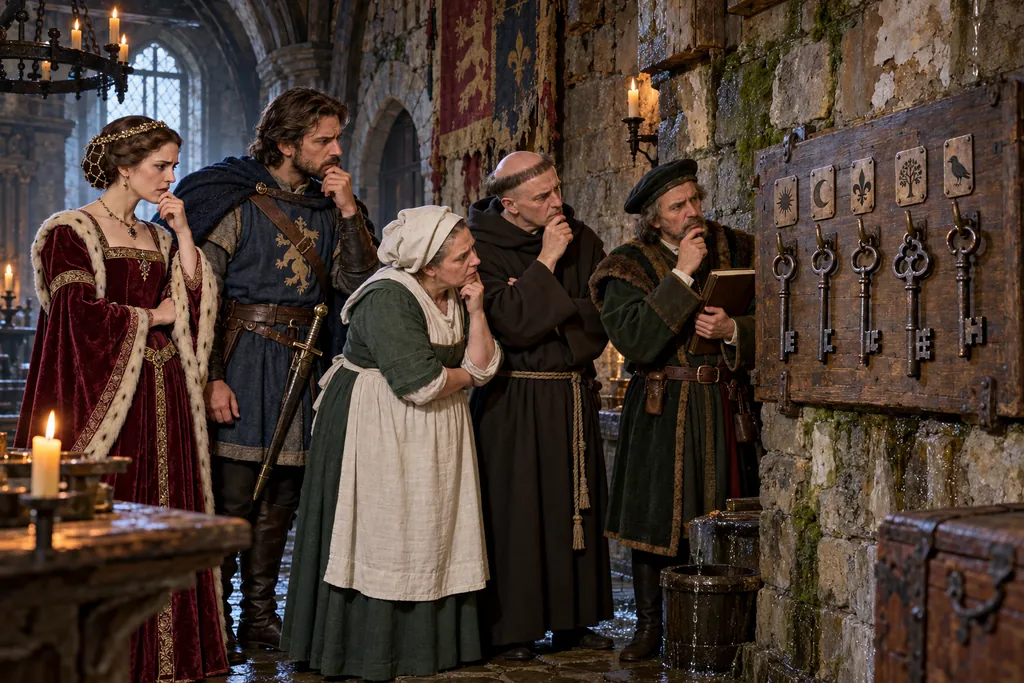
The Wrong Hooks
Rain had found every weakness in Greyfen Castle. Water crept between the stones, moss spread beneath the key board, and a ceiling drip struck the same iron bucket every few breaths. At sunrise, Castellan Rowan discovered that five important keys had been returned to the wrong numbered hooks. The keys opened the Armory, Chapel, Great Hall, North Tower, and Treasury. Each carried a different metal tag: a Brass Lion, Copper Rose, Iron Cross, Pewter Crown, or Silver Moon.
The Last Authorized Uses
Five residents had signed for the keys the previous day. Lady Elowen had supervised supper in the Great Hall. Sir Aldric had inspected the weapon racks in the Armory. Mistress Beatrice had polished the candle stands in the Chapel. Brother Tomas had climbed the North Tower to examine its rain-soaked bell rope. Steward Oswin claimed that he had spent the evening checking household accounts and had entered none of those four rooms.
Metal Tags and Numbered Hooks
The Chapel key carried the Silver Moon, while the North Tower key bore the Iron Cross. Weapon oil on the Brass Lion confirmed that it opened the Armory. A smear of red sealing wax from the feast ledger marked the Copper Rose as the Great Hall key, leaving the Pewter Crown for the remaining room. On the key board, the Crown hung from the center hook, Hook 3. The Cross occupied an odd-numbered hook lower than the Lion's, and the Lion was exactly one hook to its right. The Moon hung from a higher-numbered hook than the Rose.
The Broken Seal
Rowan then revealed what he had withheld: the Treasury door's wax seal had been cut after curfew, and the key had left a fresh scrape in the soft wax. Every recorded visit to the other four rooms had been authorized. Whoever had last used the Treasury key made the secret visit, then rearranged all five keys to disguise which one had been returned. Match each resident to a room, metal tag, and numbered hook to identify the culprit.
Detective’s note: There is no separate clue list. Circle the useful facts in your mind and transfer them to the grid.
Detective’s Deduction Grid
Record the relationships you uncover in the case file.
Eliminate is selected.
LogicPuzzles.com